Zero Trust Packet Routing Visualizer
Zero Trust Packet Routing (ZPR) Visualizer tool graphically represents network security posture in a Zero Trust Packet Routing (ZPR)-enabled OCI tenancy. It helps you understand how resources communicate and view relationship between security attributes, protected resources, and ZPR policies.
Overview
The ZPR Visualizer provides a visual representation of ZPR security attributes and the ZPR policies that reference them within a selected region and tenancy. The tool helps you analyze how policy-driven access between resources is allowed or blocked based on policy definitions.
Use the ZPR Visualizer to help you do the following:
- Visualize relationship between security attributes, protected resources, and ZPR policies.
- Verify that ZPR policies are correctly configured and enforced.
- Diagnose allowed or blocked communication between resources
- Detect resources not protected by security attributes,
- Review network access patterns to ensure compliance with zero-trust principles.
Required Permissions
The following IAM policies are required to enable the ZPR Visualizer to read resources in the tenancy.
- Add policy to zpr-tools services to read resources in an IAM policy written by an administrator
Allow service zpr-tools to read all-resources in tenancy - Select one to add policy to grant Visualizer topology access to read resources
- Global access
Allow any-user to read all-resources in tenancy where ALL { request.principal.type = 'zprtopology' } - Restricted access
- Create the dynamic group with a matching rule
ALL { resource.type = 'zprtopology' } - Add IAM Policy
If dynamic group isn't in the default domain, then useAllow dynamic-group <dg_name> to read all-resources in tenancyAllow dynamic-group '<domain_name>/<dg_name>' to read all-resources in tenancy
- Create the dynamic group with a matching rule
- Global access
For more information and examples, see Zero Trust Packet Routing IAM Policies.
Legend
The ZPR Visualizer uses the following symbols and conventions:
| Icon | Description |
|---|---|
| Attributes and networking types | |
 |
VCN security attribute Attributes applied to VCNs define scope in ZPR policies. |
 |
Resource security attribute Attributes applied to resources are used in ZPR policy to connect endpoints. |
 |
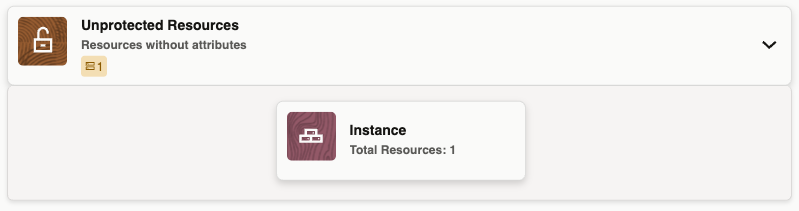
Resources without attributes Displays resources without ZPR attributes. The unprotected resources need attention before you can view policy relationships. |
 |
IP address Internet Protocol (IP) address refers to the unique identifying number associated with any device connected to the internet. |
 |
CIDR Group of IP addresses sharing the same network prefix and number of bits, used for efficient IP address allocation and routing on the internet. |
| Example Resource Types | |
 |
Load Balancer: Group of Load Balancer sharing the same security attribute |
 |
Instances: Group of Instances sharing the same security attribute. |
| Policy statements | |
 |
Single ZPR Policy statement (cross attribute): One or more ZPR policy statements representing connection between endpoint attributes or network endpoints. The number on the connection shows the number of policy statements that are associated with that relationship. |
Use case - Identify and secure unprotected resources without security attributes
Use ZPR Visualizer to find resources that aren't yet protected, apply security attributes and policies, and verify the updated connectivity.
Scenario: Assume that a Compute instance without a security attribute appears under Resources without attributes.
- Open ZPR Visualizer and set the required compartment.
- Open resources without attributes to identify unprotected resources.
- Review and filter the list to find relevant resources.
- Assign a security attribute to the resource. See Adding a Resource to Zero Trust Packet Routing.
- Create the required ZPR policy for communication. See Create ZPR Policy.
- Return to the visualizer and select the Refresh
 icon.
icon. - Verify that the nodes are displayed with expected connection edges.